Unity 2D First Steps
Challenge: Make a cross platform 2D game.
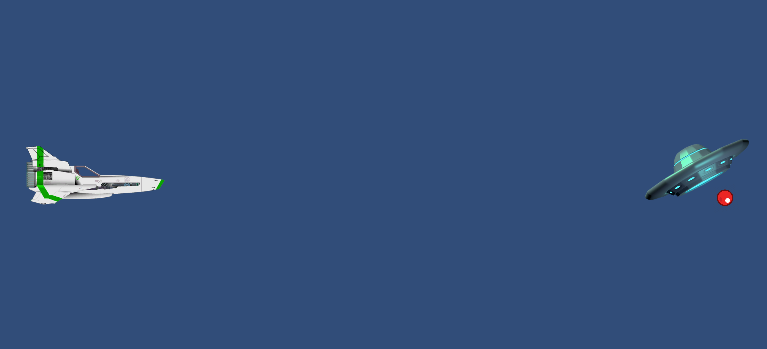
In this post I explore the basics of building up a 2D game using the Unity cross-platform game engine. My efforts below, based on the examples found at The Polyglot Developer and Unity Documentation.
The graphics I use for this tutorial, can be downloaded as a bundle here.
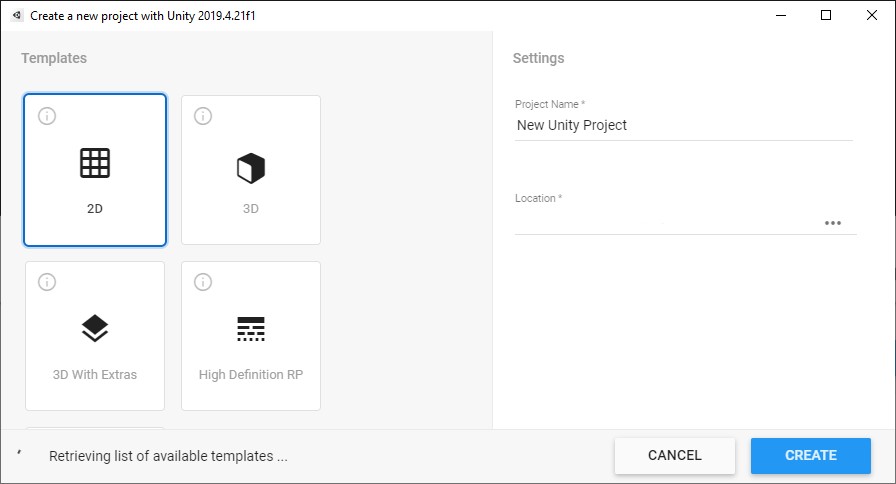
Create a New 2D Project
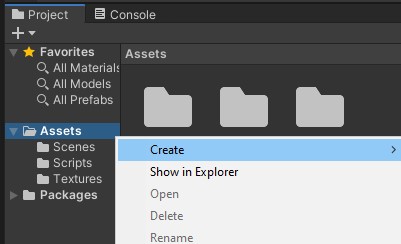
Create > Folders for Textures and Scripts
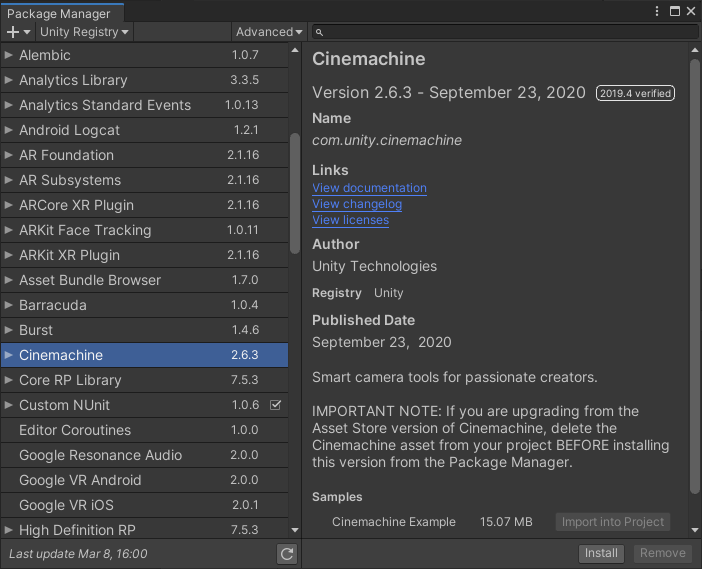
Go to Window > Package Manager and install Cinemachine
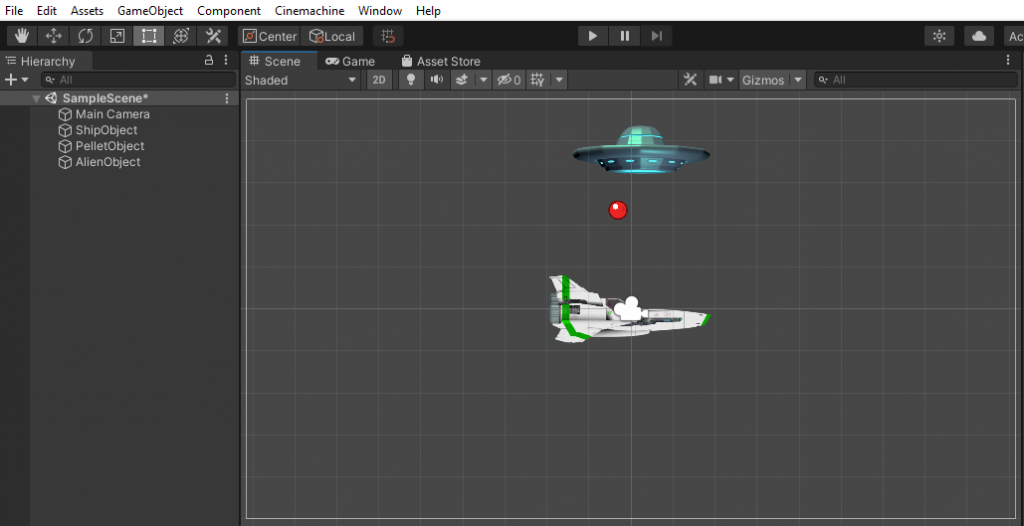
Create some Objects
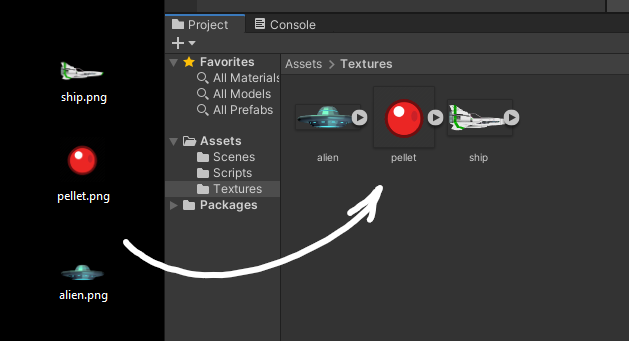
Choose the Textures folder and drag your textures in…
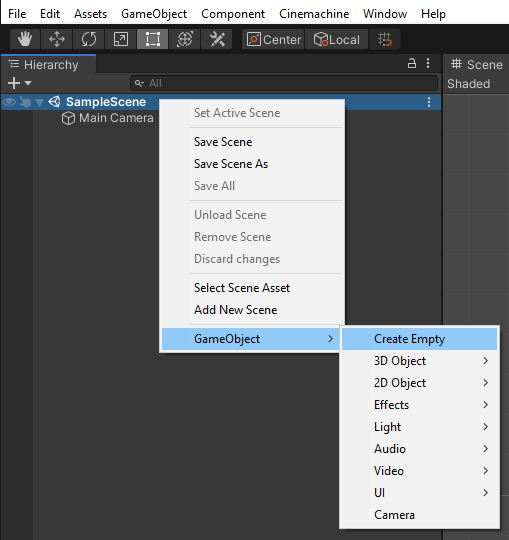
Right-click the scene and choose GameObject > Create Empty
Rename the GameObject to ShipObject and Add Components…
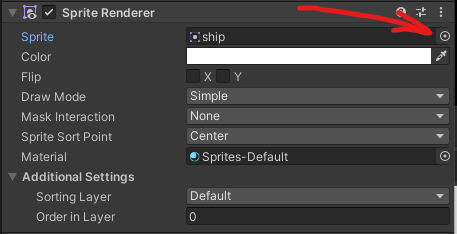
+ Sprite Renderer
+ Rigidbody 2D
+ Edge Collider 2D
For Sprite Renderer, click the small circle icon to the right of the Sprite value, and choose the ship texture.
You should see the object in the main window now – dont worry about its’ position or scale, we will change all that later.
For Rigidbody 2D, change Gravity Scale to 0
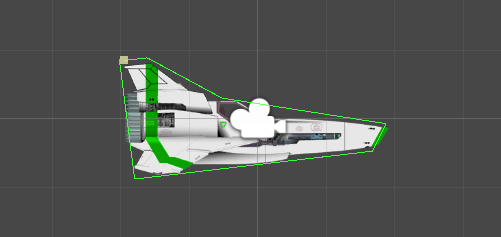
For Edge Collider 2D, Expand Points and set Size to 2 (press Enter).
Change the Element values as below…
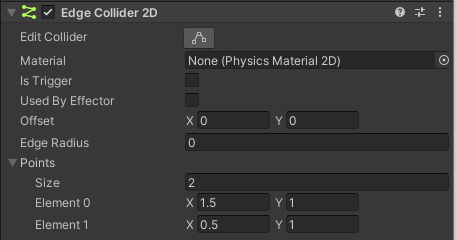
This will create a green ‘edge’ just above the ship.
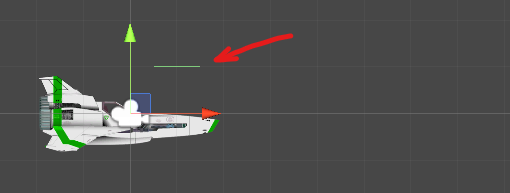
Click the Edit Collider button and drag the points of the ‘edge’ to surround the texture, To create more points, click halfway along an edge.

❤ Repeat the ‘Create an Object’ steps above for the PelletObject and AlienObject ‘s.
? For the Pellet, use the Circle Collider 2D component.
? For the Alien, try the Polygon Collision 2D component – easy huh?
For both, set the Rigidbody2D > Gravity Scale to 1 and place them above the ship for now – because gravity is fun for testing.
Note: Two Edge Collider 2D objects won’t collide with each other !?
Add Basic Controls
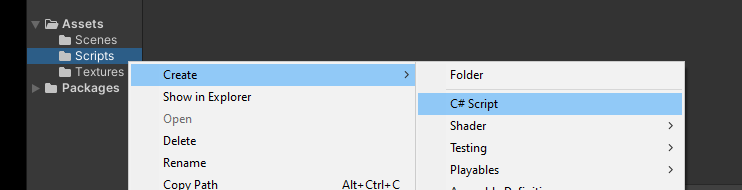
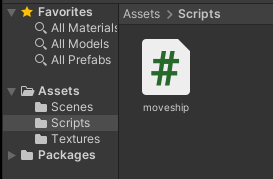
Right-click your Scripts folder and create a C# Script
I’m going to rename it ‘moveship’
Double click the script to open it in your editor
using System.Collections;
using System.Collections.Generic;
using UnityEngine;

public class moveship : MonoBehaviour
{
    float spd = 7;

    private Rigidbody2D rigidBody2D;

    void Start()
    {
        rigidBody2D = GetComponent<Rigidbody2D>();
    }

    void Update()
    {
    }

    void FixedUpdate()
    {
        float h = Input.GetAxis("Horizontal");
        float v = Input.GetAxis("Vertical");
        rigidBody2D.MovePosition(rigidBody2D.position + (new Vector2(h*spd, v*spd) * Time.fixedDeltaTime));
    }
}
❤ Note to change the name of the public class to match the script filename – in this case it’s “moveship”..
Save the script and select the ship object to bring up its’ inspector on the right, then scroll to the bottom.
Back in the bottom section, drag the Script object to the AddComponent section in the inspector.
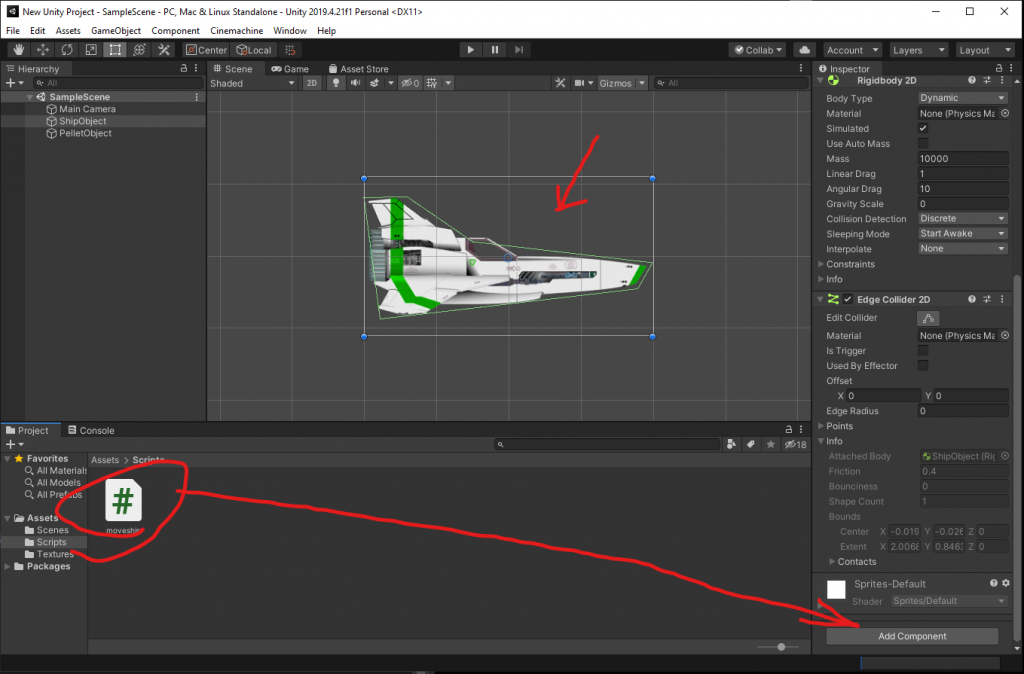
? That will associate the script – you could always add it manually but drag and drop is easier.
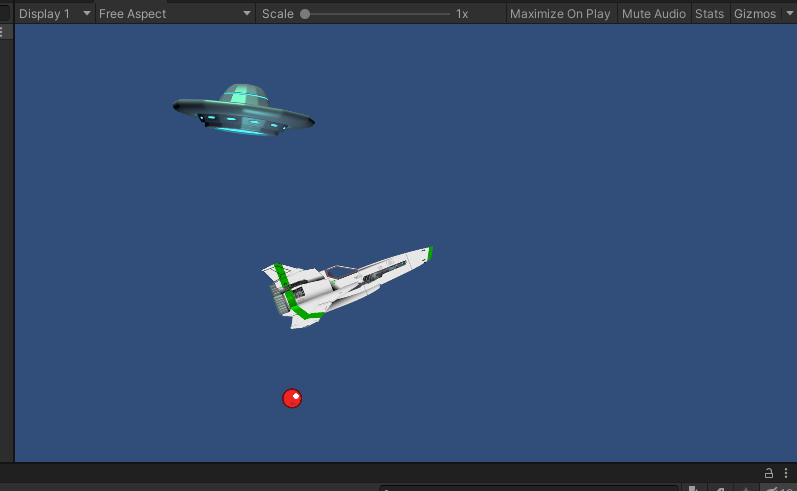
Test it out!
Actions and Events
So lets fire that bullet…
Back in our Scripts folder, create a new script called “Bullet”.
using System.Collections;
using System.Collections.Generic;
using UnityEngine;

public class Bullet : MonoBehaviour
{
    private lifetime = 2f;
    private Rigidbody2D rb;

    void Start()
    {
        rb = GetComponent<Rigidbody2D>();
        rb.position += Vector2.right * 2.0f;
        rb.AddForce(new Vector2(1500, 0));
    }
using System.Collections;
using System.Collections.Generic;
using UnityEngine;

public class Bullet : MonoBehaviour
{
    private float lifetime = 2f;
    private Rigidbody2D rb;

    void Start()
    {
        rb = GetComponent<Rigidbody2D>();
        rb.AddForce(new Vector2(500, 0));
    }

    void Update()
    {
        lifetime -= Time.deltaTime;
        if (lifetime <= 0f)
        {
            Destroy(this.gameObject);
        }
    }
}
Attatch the “Bullet” script to the pelletObject
The script makes the pelletObject fly to the right and self-destruct after 2 seconds.
Using Prefabricated objects
Create a folder called Prefabs
Drag the PelletObject into the Prefabs folder
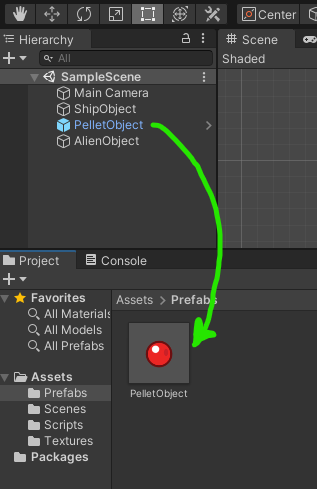
So you should have a “PelletObject” in Prefabs with the “Bullet” script attached to it. Once you have this as a prefab object, you don’t need the original in the scene and can remove it if you want.
Lastly we modify the moveship script to include the code to create a new bullet when we press the spacebar.
using System.Collections;
using System.Collections.Generic;
using UnityEngine;

public class moveship : MonoBehaviour
{
    public GameObject bulletPrefab;

    float spd = 7;

    private Rigidbody2D rigidBody2D;

    void Start()
    {
        rigidBody2D = GetComponent<Rigidbody2D>();
    }

    void Update()
    {
        if (Input.GetKeyDown(KeyCode.Space))
        {
            GameObject go = Instantiate(bulletPrefab, gameObject.transform);
            Bullet bullet = go.GetComponent<Bullet>();
        }
    }

    void FixedUpdate()
    {
        float h = Input.GetAxis("Horizontal");
        float v = Input.GetAxis("Vertical");
        rigidBody2D.MovePosition(rigidBody2D.position + (new Vector2(h*spd, v*spd) * Time.fixedDeltaTime));
    }
}
To be continued…